


The Complete Guide To Mounting A Rifle Scope The Right Way.
Mounting a scope isn't complicated — but the details matter a lot. Loose screws, a canted reticle, wrong eye relief, or over-tightened rings can all quietly undermine everything you spent good money on. This step-by-step guide walks you through the entire process from bare receiver to zeroed scope, covering every decision point and common mistake along the way. Do it right once and you'll do it right every time.
What You'll Need Before You Start
Gather everything before you begin — stopping mid-installation to hunt for a tool is how mistakes happen. Here's the complete toolkit for a proper scope mounting job.
Scope Rings Or One-Piece Mount
Must match your scope's tube diameter (1" or 30mm are most common) and be compatible with your rifle's base or rail system. Verify compatibility before ordering — a 30mm ring on a 1" tube won't work.
Torque Wrench
Calibrated in inch-pounds. Non-negotiable for proper scope mounting. It prevents both under-tightening (scope slips) and over-tightening (crushed tube, stripped threads). Every experienced installer uses one.
Bubble Level(s)
Ideally two — one for the rifle, one for the scope. Used to confirm both are level simultaneously before locking the rings down. A canted scope causes horizontal drift at distance that's nearly impossible to diagnose later.
Screwdriver / Allen Wrench
Sized to fit your specific ring and base screws — these often vary. Many mounting kits include the correct driver bits. Check before you start so you're not improvising with the wrong size.
Blue Threadlocker
Medium-strength (blue) threadlocker on base screws only — never ring cap screws. Prevents vibration-induced loosening under recoil over time without making removal impossible down the road.
Gun Vise Or Shooting Rest
Keeps the rifle completely stable throughout the process. If the rifle moves between steps, your alignment work is compromised. Sandbags work in a pinch, but a vise is the cleaner solution.
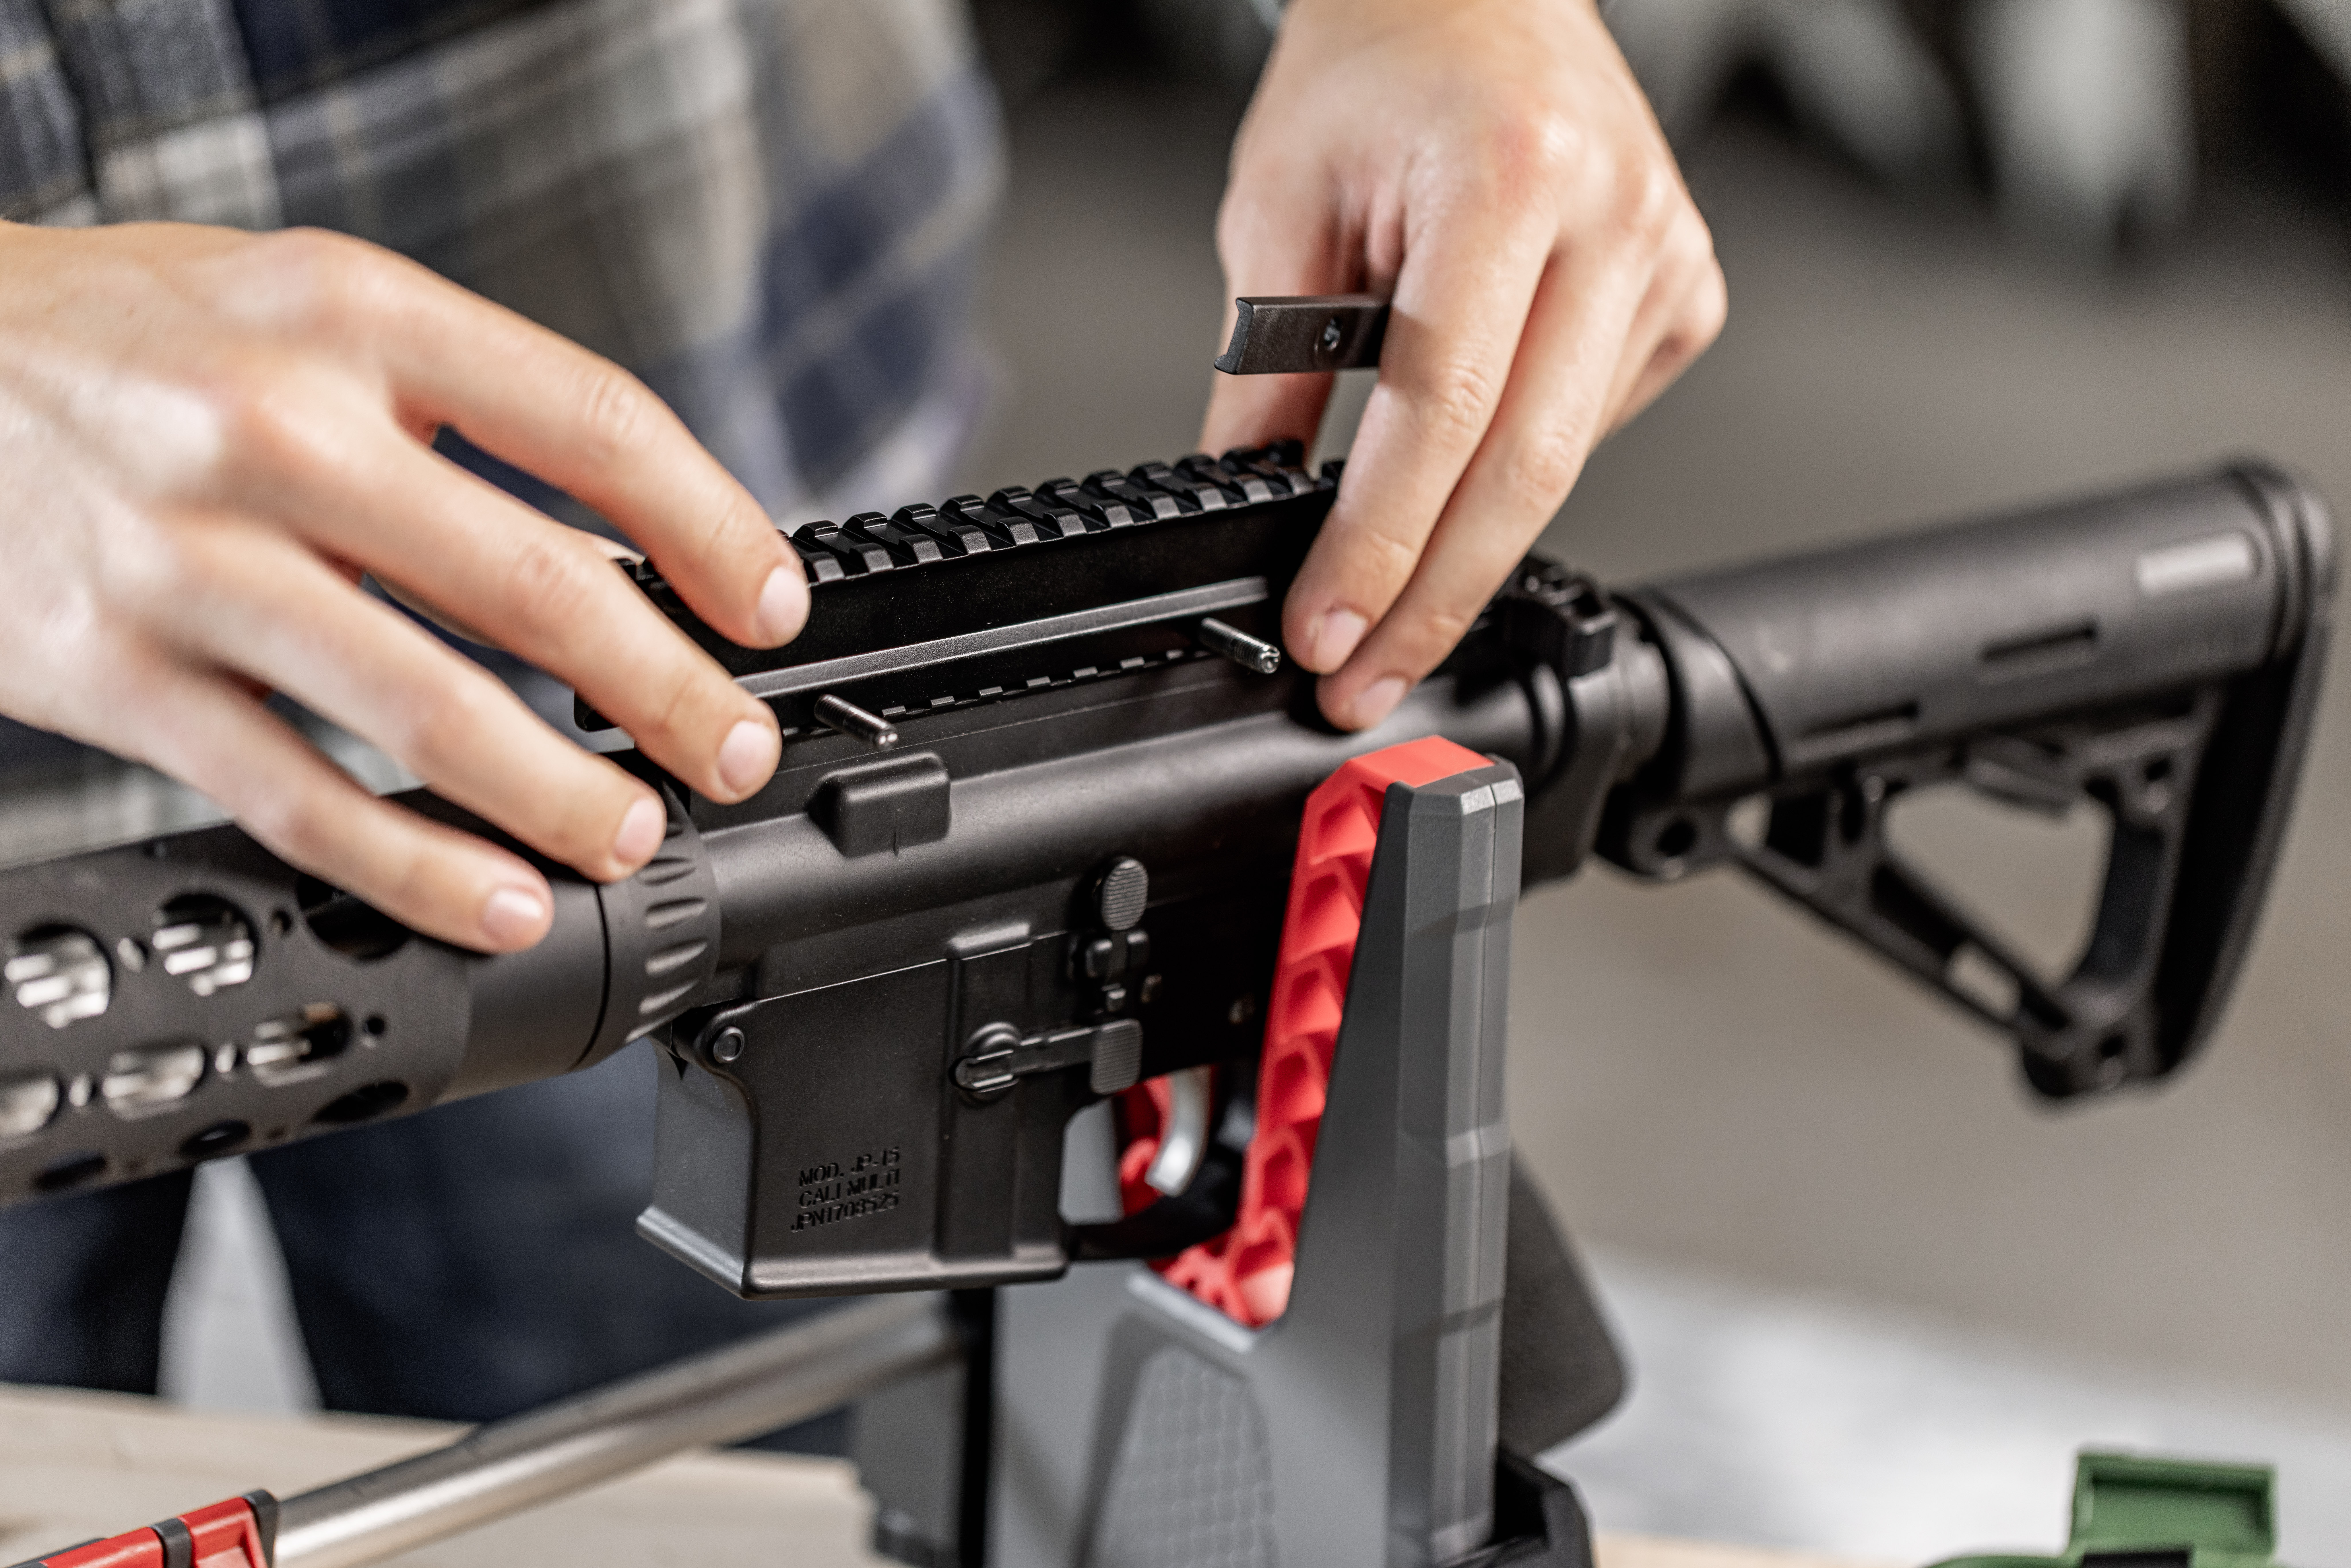
Gather Everything Before You Start — Stopping Mid-Job Is How Mistakes Happen
Step 1: Secure The Rifle And Install The Base
If your rifle already has a Picatinny or Weaver rail installed from the factory, skip the base installation and move straight to Step 2. If you're installing a base yourself, this is where you start — and it's the most important step in the whole process. A base that's even slightly loose or crooked will cause problems that no amount of careful ring installation can fix.
01
Foundation First
Secure The Rifle & Install The Base
Lock The Rifle In Place
Secure the rifle in a gun vise or shooting rest so it cannot move. Place a bubble level on the receiver or rail to confirm the rifle is perfectly level. Adjust the vise or shim under the rifle until the bubble reads dead center. Everything that follows depends on this starting point — don't rush it.
Clean The Mounting Surfaces
Wipe the receiver's mounting holes and the base contact surfaces clean of any oil, debris, or residue. Dirty or oily threads affect torque accuracy and prevent threadlocker from bonding correctly. A quick wipe with rubbing alcohol and a clean cloth is all you need.
Apply Blue Threadlocker To Base Screws
Place a small drop of blue (medium-strength) threadlocker on each base screw. A tiny amount on the threads is all you need — don't glob it on. Too much can squeeze into the receiver threads or contaminate adjacent hardware. This step keeps base screws from vibrating loose over thousands of rounds.
Install And Torque The Base Screws
Start screws by hand to avoid cross-threading, then tighten in an alternating pattern — give each screw a partial turn, then move to the opposite screw. Bring all screws up to torque gradually rather than fully seating one at a time. This keeps the base sitting flat and even against the receiver. Most base screws call for 20–25 in-lbs — verify with your specific mount's documentation.
Step 2: Place The Rings And Set Eye Relief
With the base locked down, it's time to place the scope. This step is about positioning — getting the scope at the right distance from your eye before anything gets tightened. Eye relief is one of the most important and most overlooked parts of scope mounting. Get it wrong and you'll either see a partial image or, worse, take a scope to the eyebrow when the rifle recoils.
02
Position Before You Tighten
Place The Rings & Dial In Eye Relief
Attach Ring Bases To The Rail
Mount the bottom halves of your rings to the base or rail. Torque the ring-to-base crossbolts or cross screws to spec — typically 30–50 in-lbs for ring crossbolts, depending on the manufacturer. These screws hold the rings to the rail and see significant recoil forces, so they need to be properly torqued, not just hand-tight.
Set The Scope In The Ring Bottoms
Lay the scope in the ring bottoms without the top caps. It should rest with enough friction to stay in place but still slide and rotate with gentle hand pressure. Set the magnification to its highest power — the eyebox is smallest at max magnification, making it easier to find the precise sweet spot for eye relief.
Shoulder The Rifle And Find The Eye Relief Sweet Spot
Hold the rifle in your actual shooting position — comfortable cheek weld, natural head position. Start with the scope as far forward as it will go, then slowly slide it backward toward your eye until the image fills completely with no dark shadow or vignetting around the edges. The point where the image snaps fully open is your ideal eye relief distance. Make sure there's comfortable clearance between your eye and the eyepiece before locking anything in.
Check Ring Position Before Adding Top Caps
Confirm the rings aren't pressed against the scope's turrets, objective bell, or magnification ring. The rings should grip the smooth tube section only. Space them as far apart as practical for maximum stability. Place the top caps on loosely — just enough to hold the scope with light friction — then verify eye relief one more time with the caps in place.
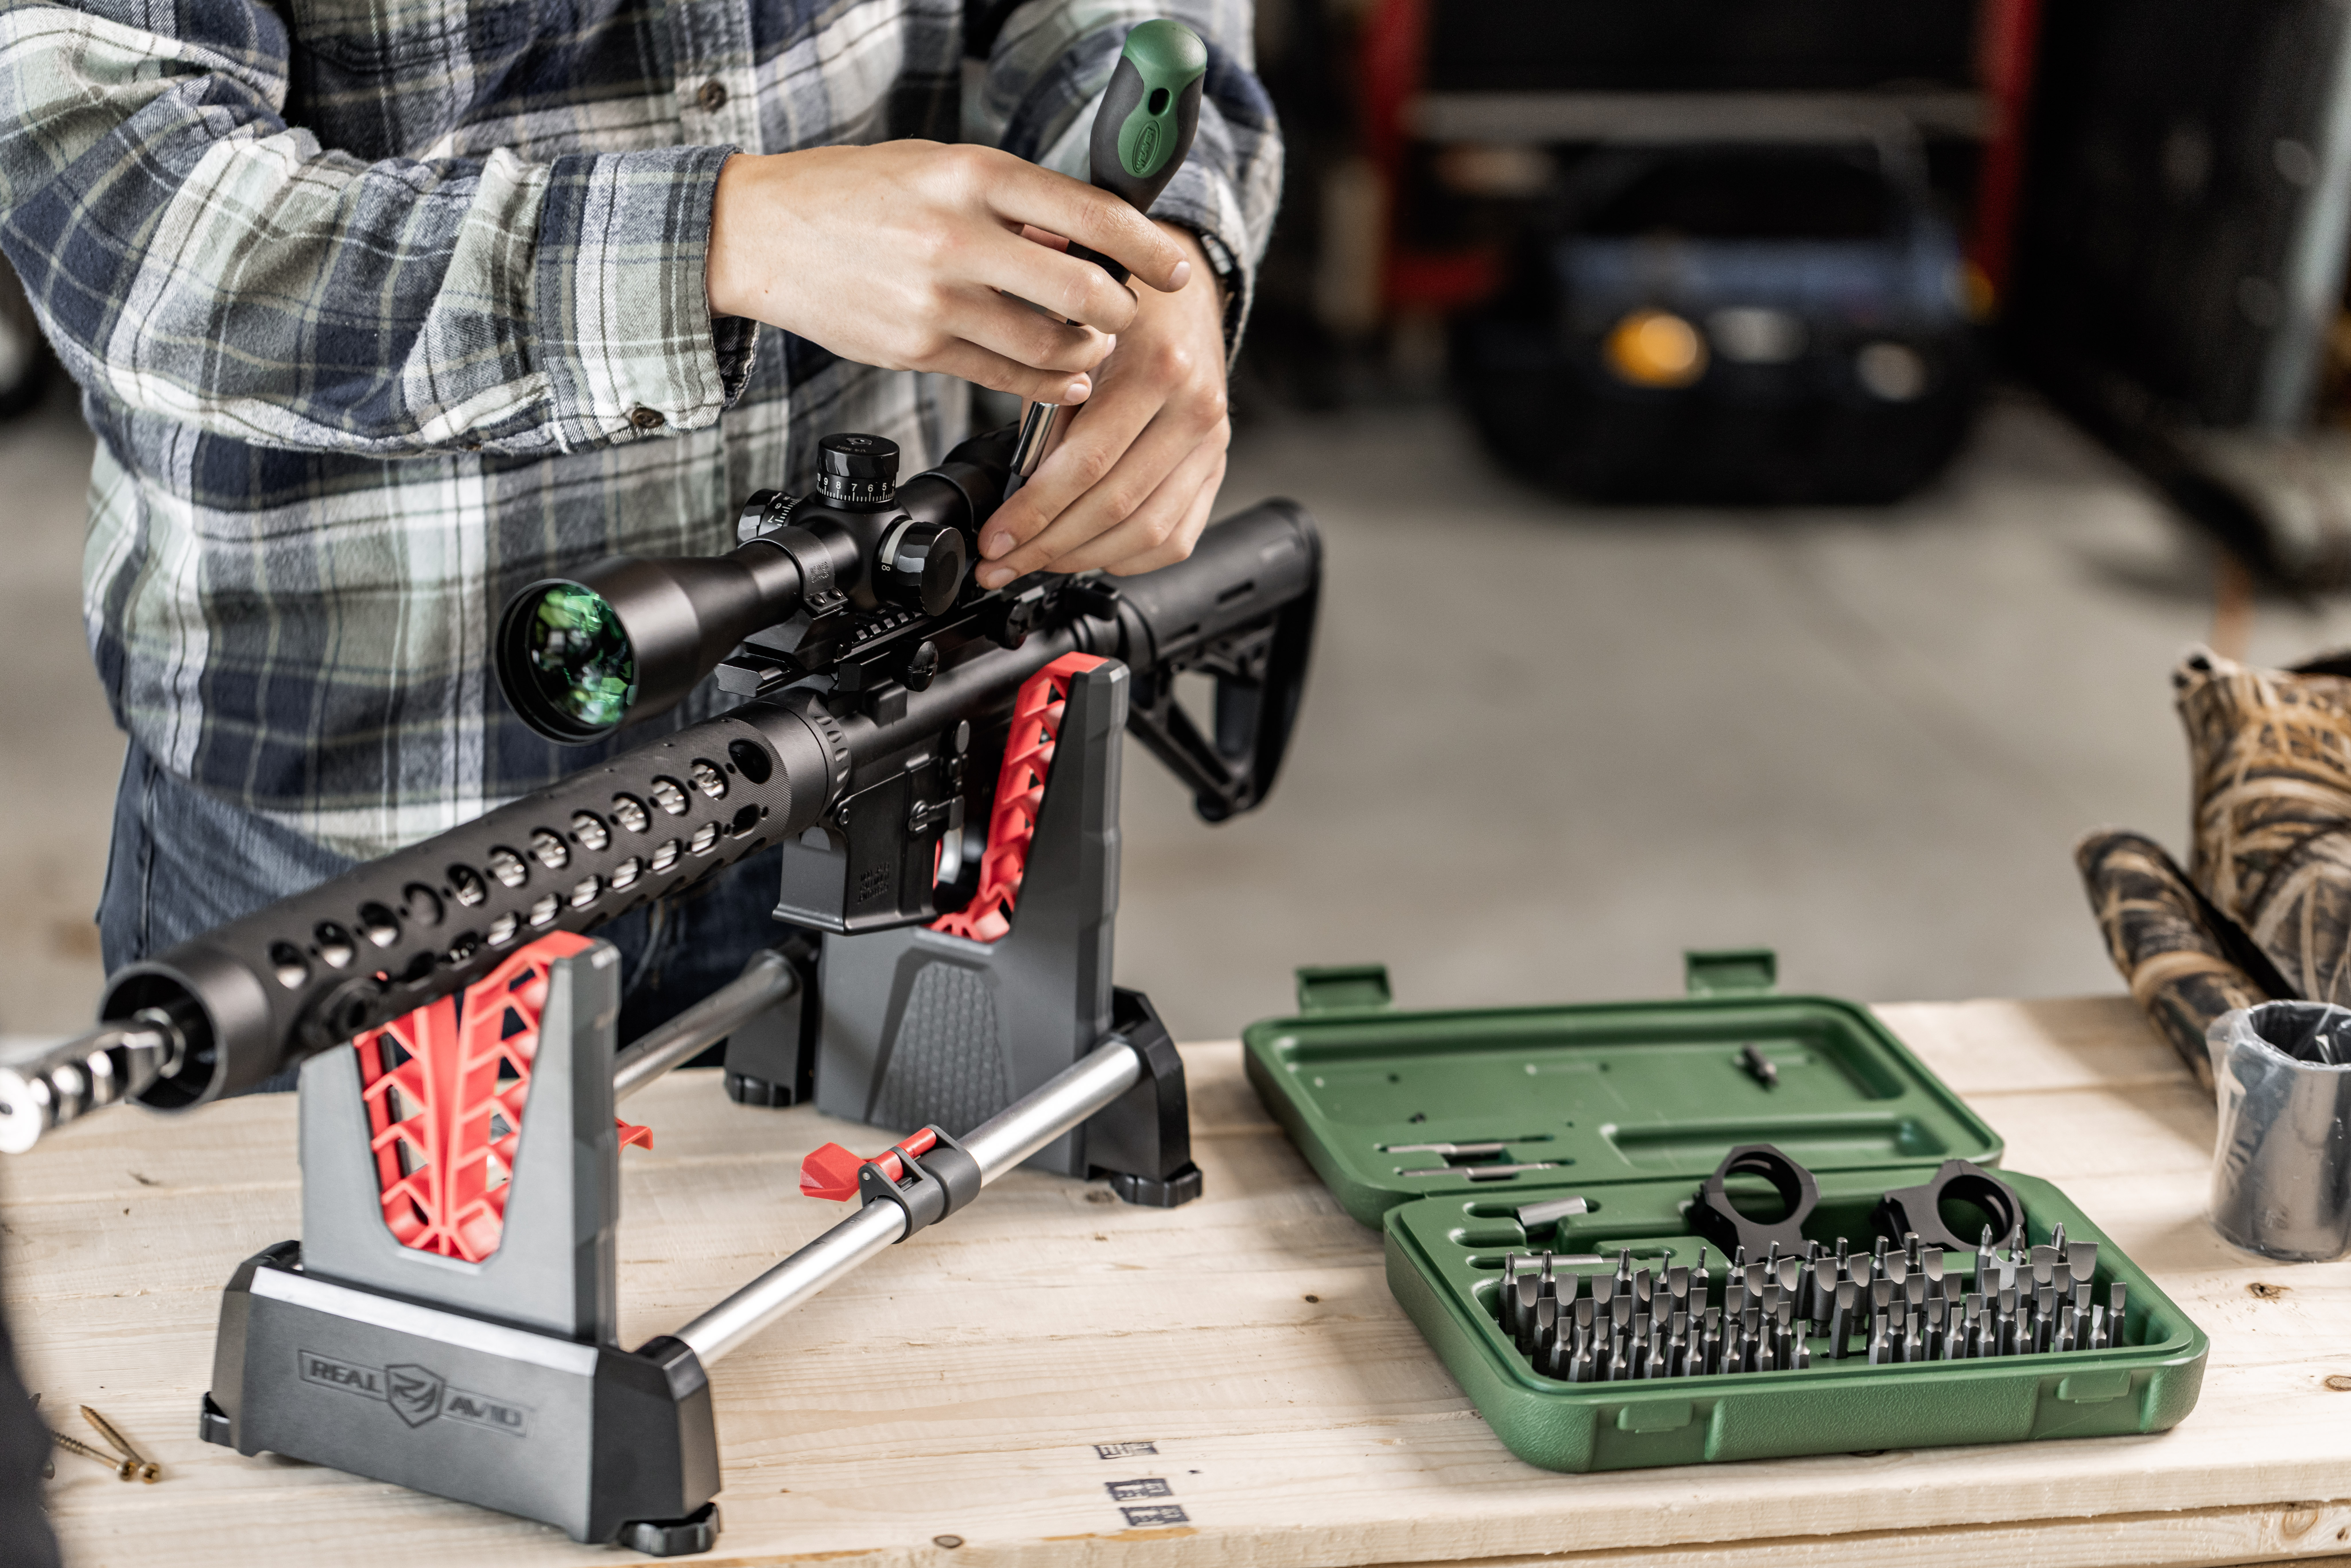
Eye Relief Has To Feel Natural — If You're Craning Your Neck To Find The Image, Reposition The Scope
Step 3: Level The Scope
The scope is positioned for your eye. Now it needs to be level. A reticle that's tilted even a few degrees introduces horizontal drift when you dial elevation — your "up" adjustment secretly carries a sideways component that compounds with distance. This step is worth taking seriously.
03
The Step Most Shooters Rush
Level The Scope Reticle
Re-Confirm The Rifle Is Still Level
Before leveling the scope, re-check that the rifle itself is still level in the vise — it may have shifted during ring installation. Place the bubble level back on the receiver or rail and re-center if needed. The scope will be leveled relative to the rifle, so the rifle has to be right first.
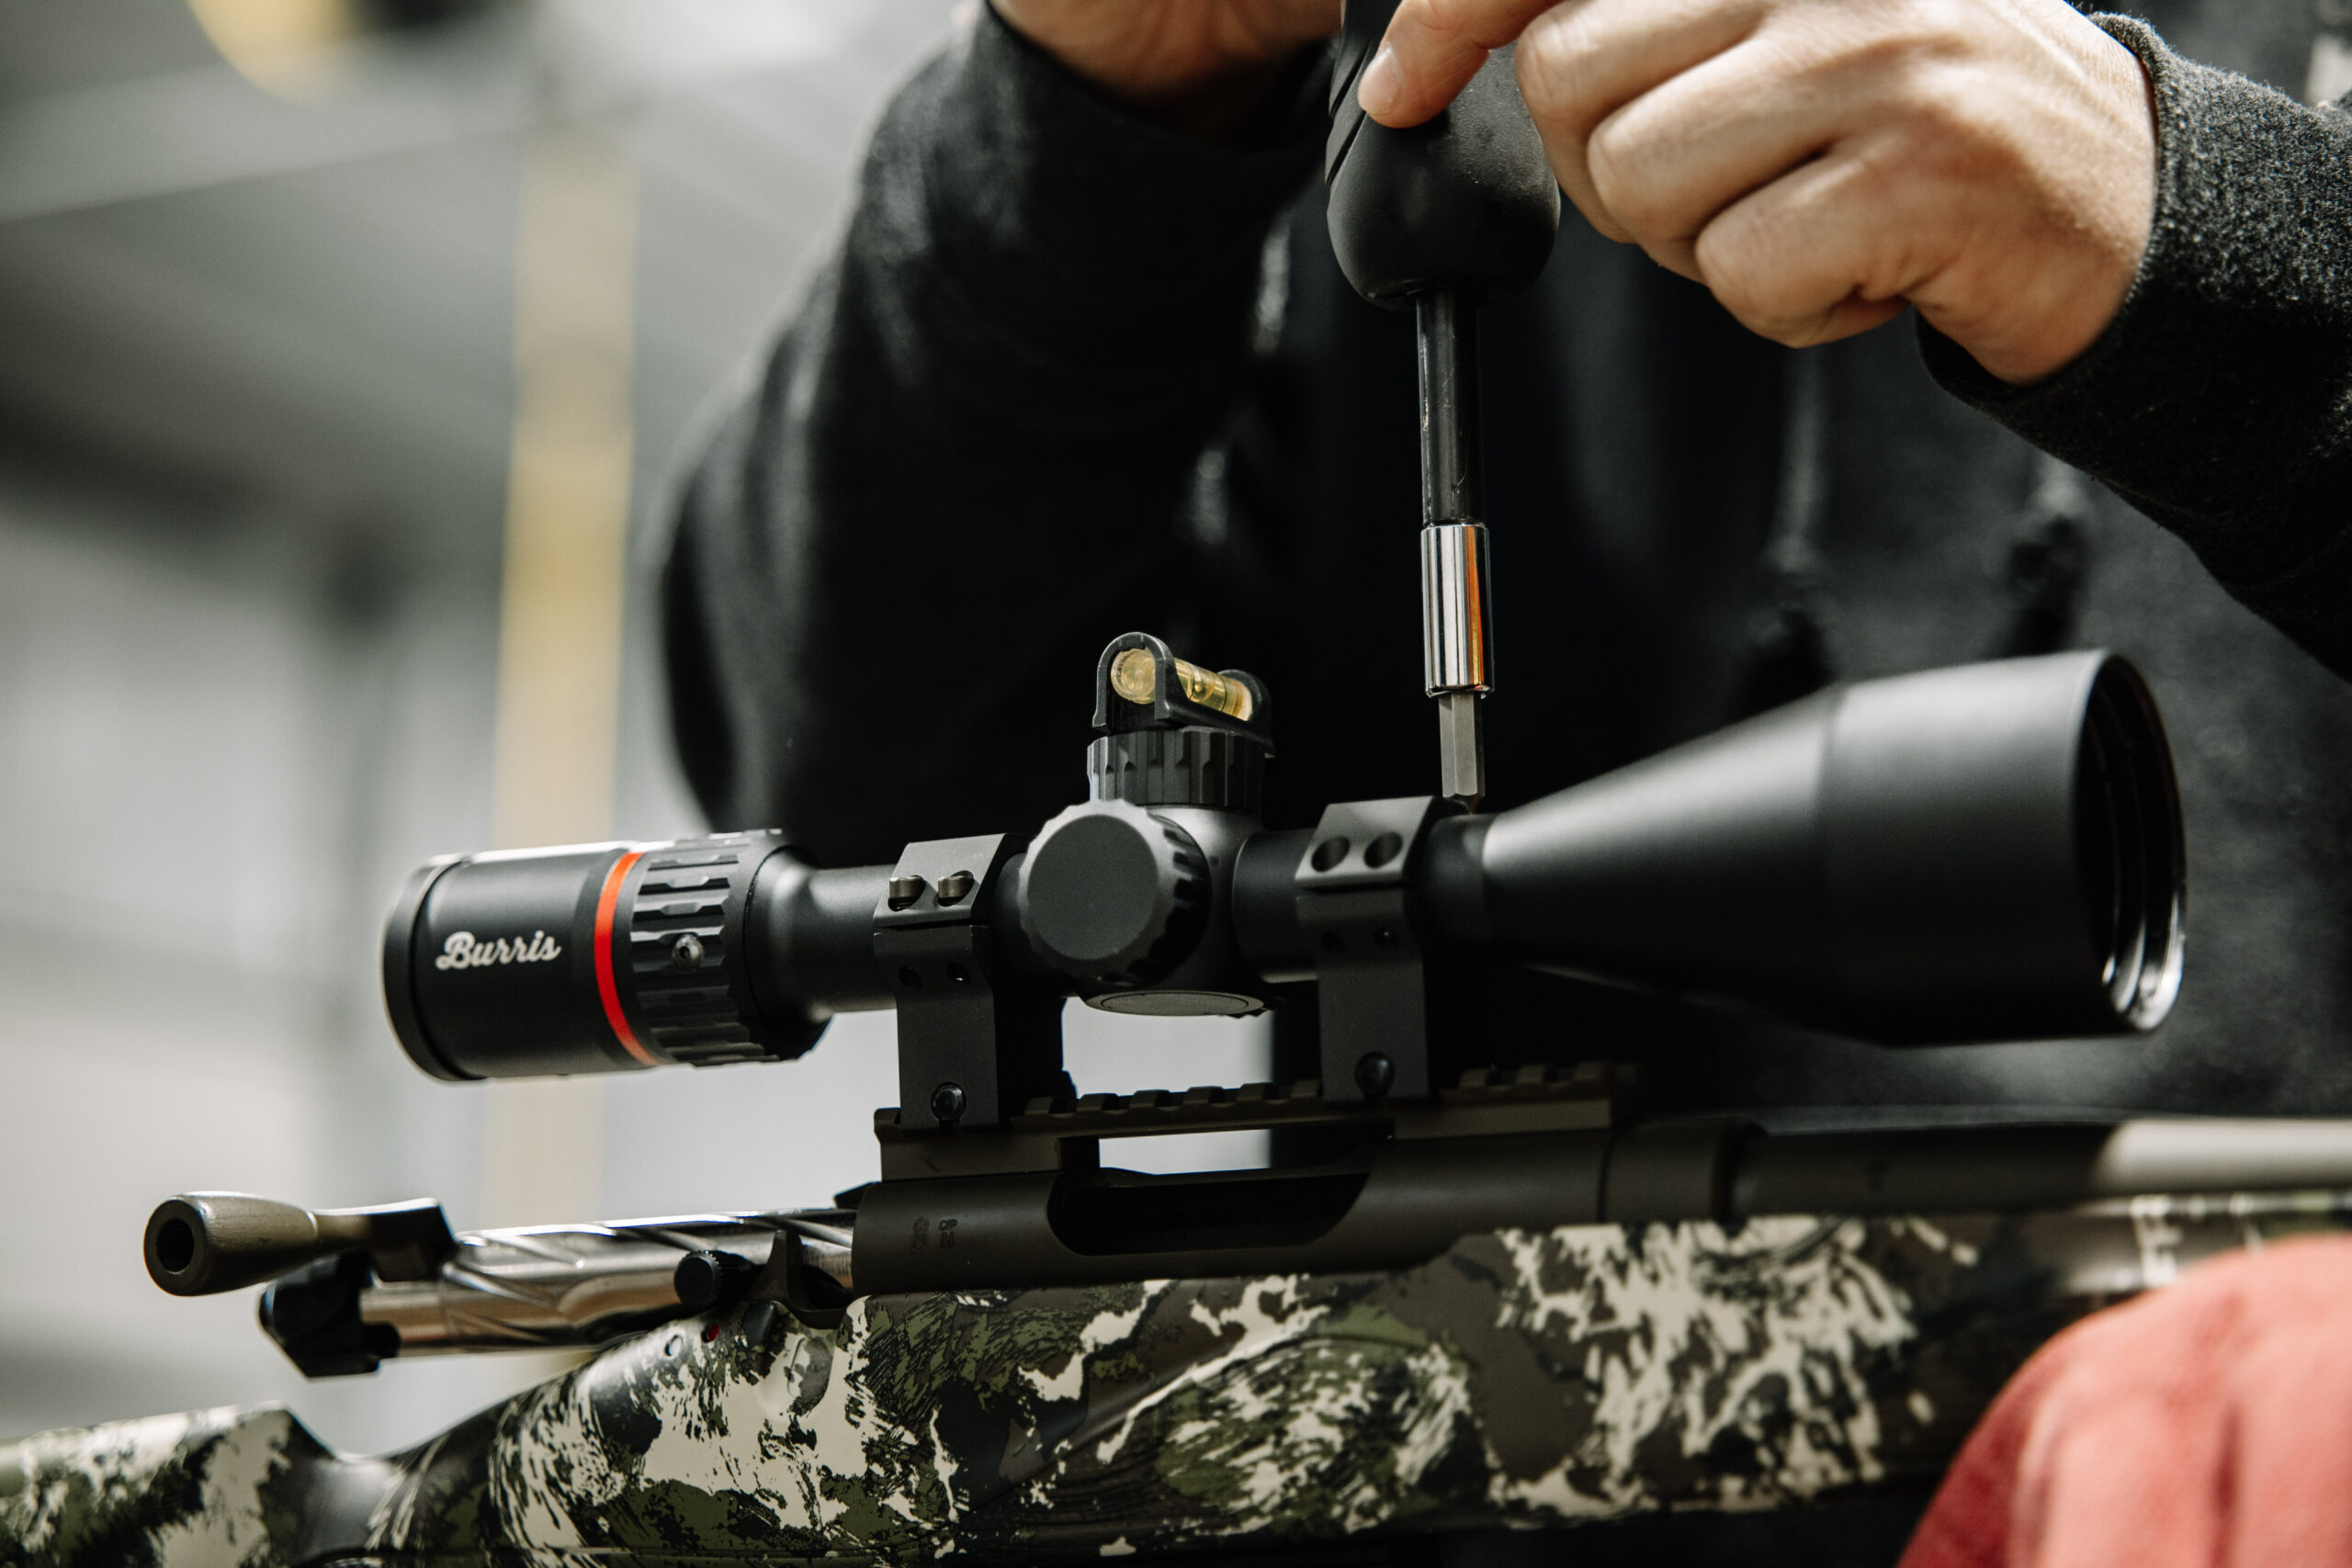
Level The Scope With A Second Bubble Level
Place a second bubble level on top of the scope's elevation turret or a flat surface on the scope body. Gently rotate the scope in the loosened rings until this bubble also reads center — with the rifle's bubble also centered. Both level simultaneously means scope and rifle are aligned. A plumb line hung 25 feet in front of the muzzle works just as well — align the vertical crosshair to the string.
Verify Visually Before Proceeding
Without disturbing the scope, look through it from a comfortable shooting position. Does the reticle appear straight relative to the rifle? A canted reticle is visible once you know what to look for. Take your time here — a few extra minutes at this stage saves hours of troubleshooting at the range.
Step 4: Tighten The Ring Screws
This is where many beginners make their biggest mistake — cranking ring screws down as hard as possible, or tightening unevenly and watching the scope rotate off-level. Neither approach works. Ring screws need precise, even torque applied gradually in a cross pattern. Less force than you think, applied more carefully than you'd expect.
04
Precision, Not Force
Torque The Ring Screws Correctly
No Threadlocker On Ring Cap Screws
Unlike base screws, ring cap screws should never get threadlocker. The small screw size means threadlocker changes friction enough to affect torque accuracy — you'll think you're hitting 18 in-lbs but the actual clamping force will be higher. Correct torque alone is sufficient for ring cap screws.
Tighten In A Cross Pattern, Gradually
With four screws per ring (two per side), tighten in an alternating sequence: front-left, rear-right, front-right, rear-left — roughly an "X" pattern. Give each screw a half-turn, then move to the next. Never fully seat one screw before moving on. This even approach prevents the scope from rotating or the ring from squeezing unevenly on one side.
Watch The Gap And The Level As You Tighten
As ring halves close, the gap between top and bottom should narrow evenly on both sides of each ring. If one side is closed and the other has a wide gap, you've tightened unevenly — loosen and rebalance. Also watch your scope level: if the bubble drifts during tightening, pause, re-rotate the scope to center, and continue tightening. It's normal for the scope to want to move slightly — catch it and correct it.
Finish At Proper Torque — Not A Click More
Most ring cap screws call for 15–18 in-lbs for standard 1" and 30mm tubes. Use your torque wrench to hit that spec and stop. It's less force than it sounds — significantly less than you'd use to tighten a standard household bolt. Over-tightening is one of the top causes of scope damage, crushed tubes, and erratic shooting. Torque it to spec and walk away.
Torque Reference — Common Scope Mount Screws
Base screws (6-48 thread) to receiver
15–18 in-lbs
Base screws (8-40 thread) to receiver
18–25 in-lbs
Ring crossbolts (ring to rail/base)
30–50 in-lbs
Ring cap screws (scope tube clamp)
15–18 in-lbs
"Get It Right Once. Then Never Think About The Mount Again."
The Two Tools That Make This Easy
Two Weaver products eliminate the two most common failure points in scope mounting — imprecise torque and a canted reticle. If you're doing this more than once, both are worth having.
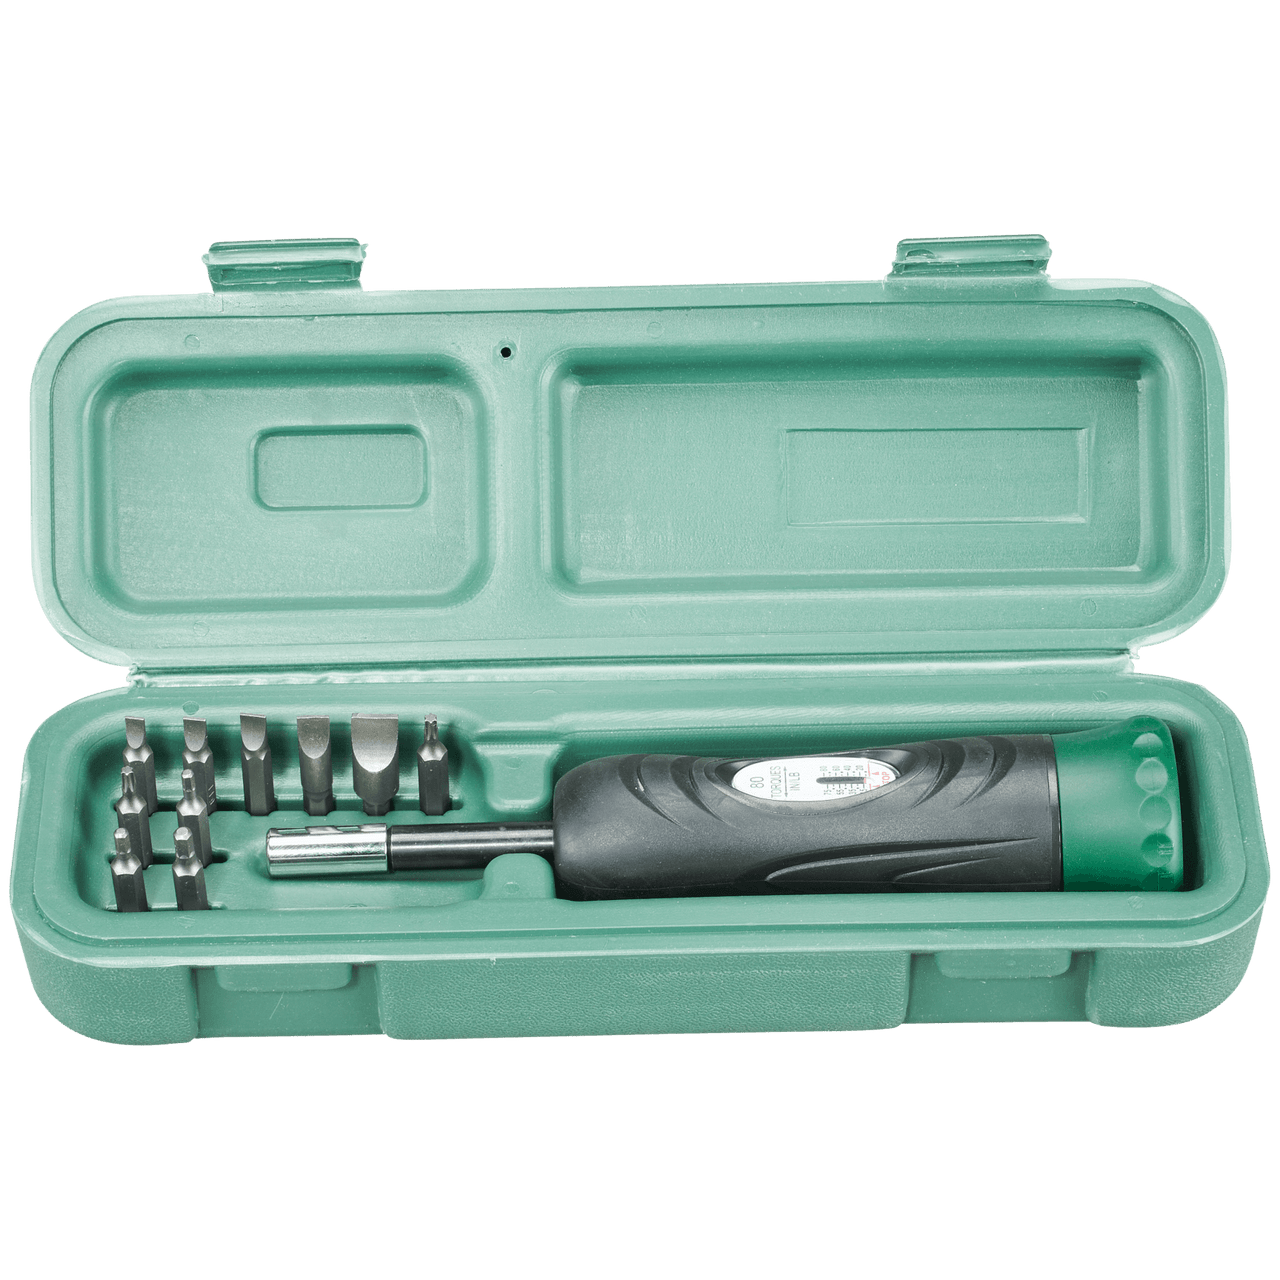
Precision Torque Control
Gunsmithing Torque Wrench Kit
Takes all the guesswork out of tightening. Dial in the exact inch-pounds for your base screws and ring caps, and the wrench stops you at spec — preventing the over-tightening that crushes scope tubes and the under-tightening that lets zeros wander. A must-have for anyone who mounts scopes more than once.
Shop Torque Wrench Kit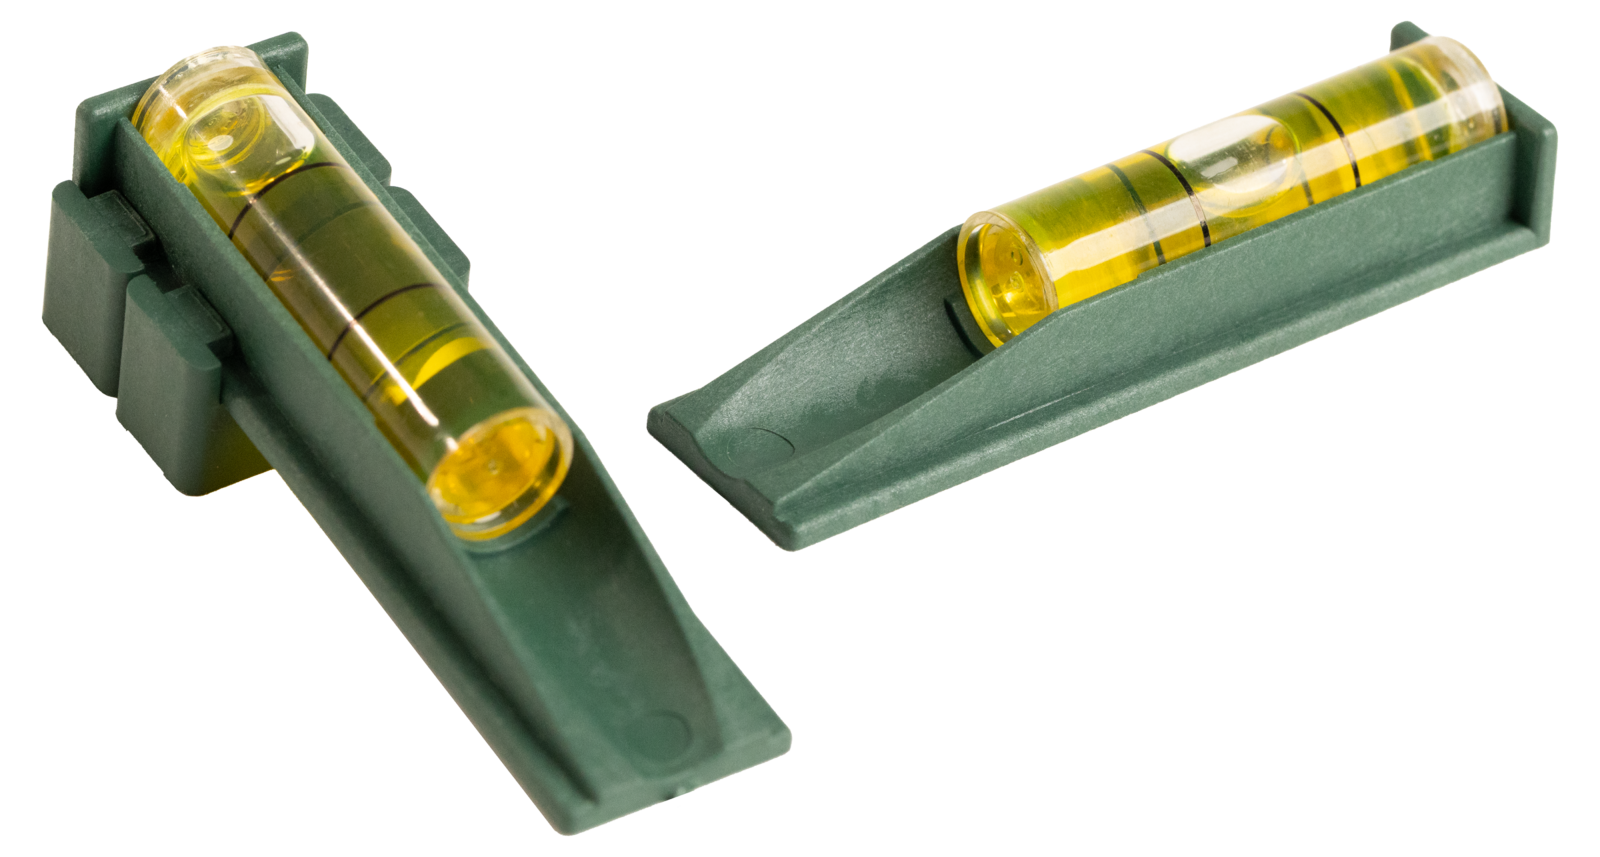
Magnetic, Hands-Free Leveling
Modular Level System
Attaches magnetically to both the receiver and scope, holding level references in place while you tighten — no juggling two levels while also managing a torque wrench. Establishes a true plumb reference, confirms scope alignment, and stays put through the entire installation. Makes Step 3 dramatically easier.
Shop Level SystemFinal Checks Before You Head To The Range
One Last Walk-Through Before The Range Saves A Wasted Trip
Base Is Solid — No Wobble
Try to gently wiggle the base by hand. It should feel absolutely rigid with zero movement. Any play means a screw isn't tight or threadlocker didn't cure. Fix it now.
Scope Is Level
One final look through the scope at a plumb line or vertical reference. Vertical crosshair perfectly parallel to the reference? You're good. If anything shifted during final tightening, loosen and correct — don't assume it's close enough.
Eye Relief Confirmed In Shooting Position
Shoulder the rifle naturally and look through the scope. Full clear image with no dark shadow, comfortable head position, and adequate clearance from the eyepiece. If something's off, loosen the rings and reposition before going to the range.
All Screws Torqued To Spec
Every screw in the system — base to receiver, rings to base, ring caps to scope. Walk through each one with the torque wrench. It's easy to skip one if you were interrupted during installation.
Rings Not Pressing On Turrets Or Scope Ends
Visually confirm both rings are gripping smooth tube only. No contact with the objective bell, magnification ring, or turret housings. Rings pressing against these can damage the scope or shift your zero unpredictably under recoil.
Ready To Bore-Sight And Zero
The mount is done. Next step is bore-sighting and zeroing at the range — don't skip it. A perfectly mounted scope still needs to be dialed in with live fire before you can trust where it's pointing.
"Done Right, You'll Never Have To Think About The Mount Again."
A properly mounted scope is one you forget about — because it just works, shot after shot, session after session, without demanding your attention.
Take the time. Use the right tools. Follow the torque specs. Then go put rounds downrange with confidence.