


A Crooked Reticle Is Costing You Shots. Here's How To Fix It.
You dialed your scope, your fundamentals were solid, and the shot still drifted. Before you blame the wind or your trigger pull, consider this: if your scope's reticle isn't perfectly level with the rifle, every click of elevation adjustment carries a hidden horizontal component. The bullet doesn't go straight up — it goes up and sideways. At close range, that error is invisible. At distance, it's a miss. Leveling your scope correctly is one of the most important steps in a proper mount job, and this guide walks you through it completely.
Why A Level Reticle Is Non-Negotiable At Distance
The reticle in your scope is your reference for both horizontal and vertical. When the scope is canted even slightly, those reference lines no longer align with true vertical and horizontal — they're tilted. That means when you dial elevation to compensate for bullet drop, you're not adding pure vertical adjustment. You're adding a combination of elevation and windage, even though the turret says otherwise.
At 100 yards this error is small enough that you may not notice it. But the farther the shot, the more the error compounds. Your adjustments drift you off horizontally instead of tracking cleanly up and down — and the more you dial, the worse it gets. Worst of all, the problem is invisible without knowing what to look for. You can have a perfect zero at one distance while being noticeably off at another, simply because the reticle was never truly level to begin with.
~0"
Error At 100 Yds
A 1° cant is nearly invisible at close range — most shooters won't notice it at all
~2"
Error At 500 Yds
That same 1° cant now introduces a meaningful horizontal error that starts to matter on target
~4–5"
Error At 1000 Yds
At extreme range, a 1° cant can push your bullet nearly half a foot from where you aimed
For hunting inside 200 yards, a perfectly level scope is less critical — the margin of error is forgiving. But for any precision work, long-range shooting, or PRS-style competition, a level reticle is foundational. Every other element of your setup — your zero, your dope, your wind call — assumes the scope is plumb. If it isn't, that assumption is wrong from the start.
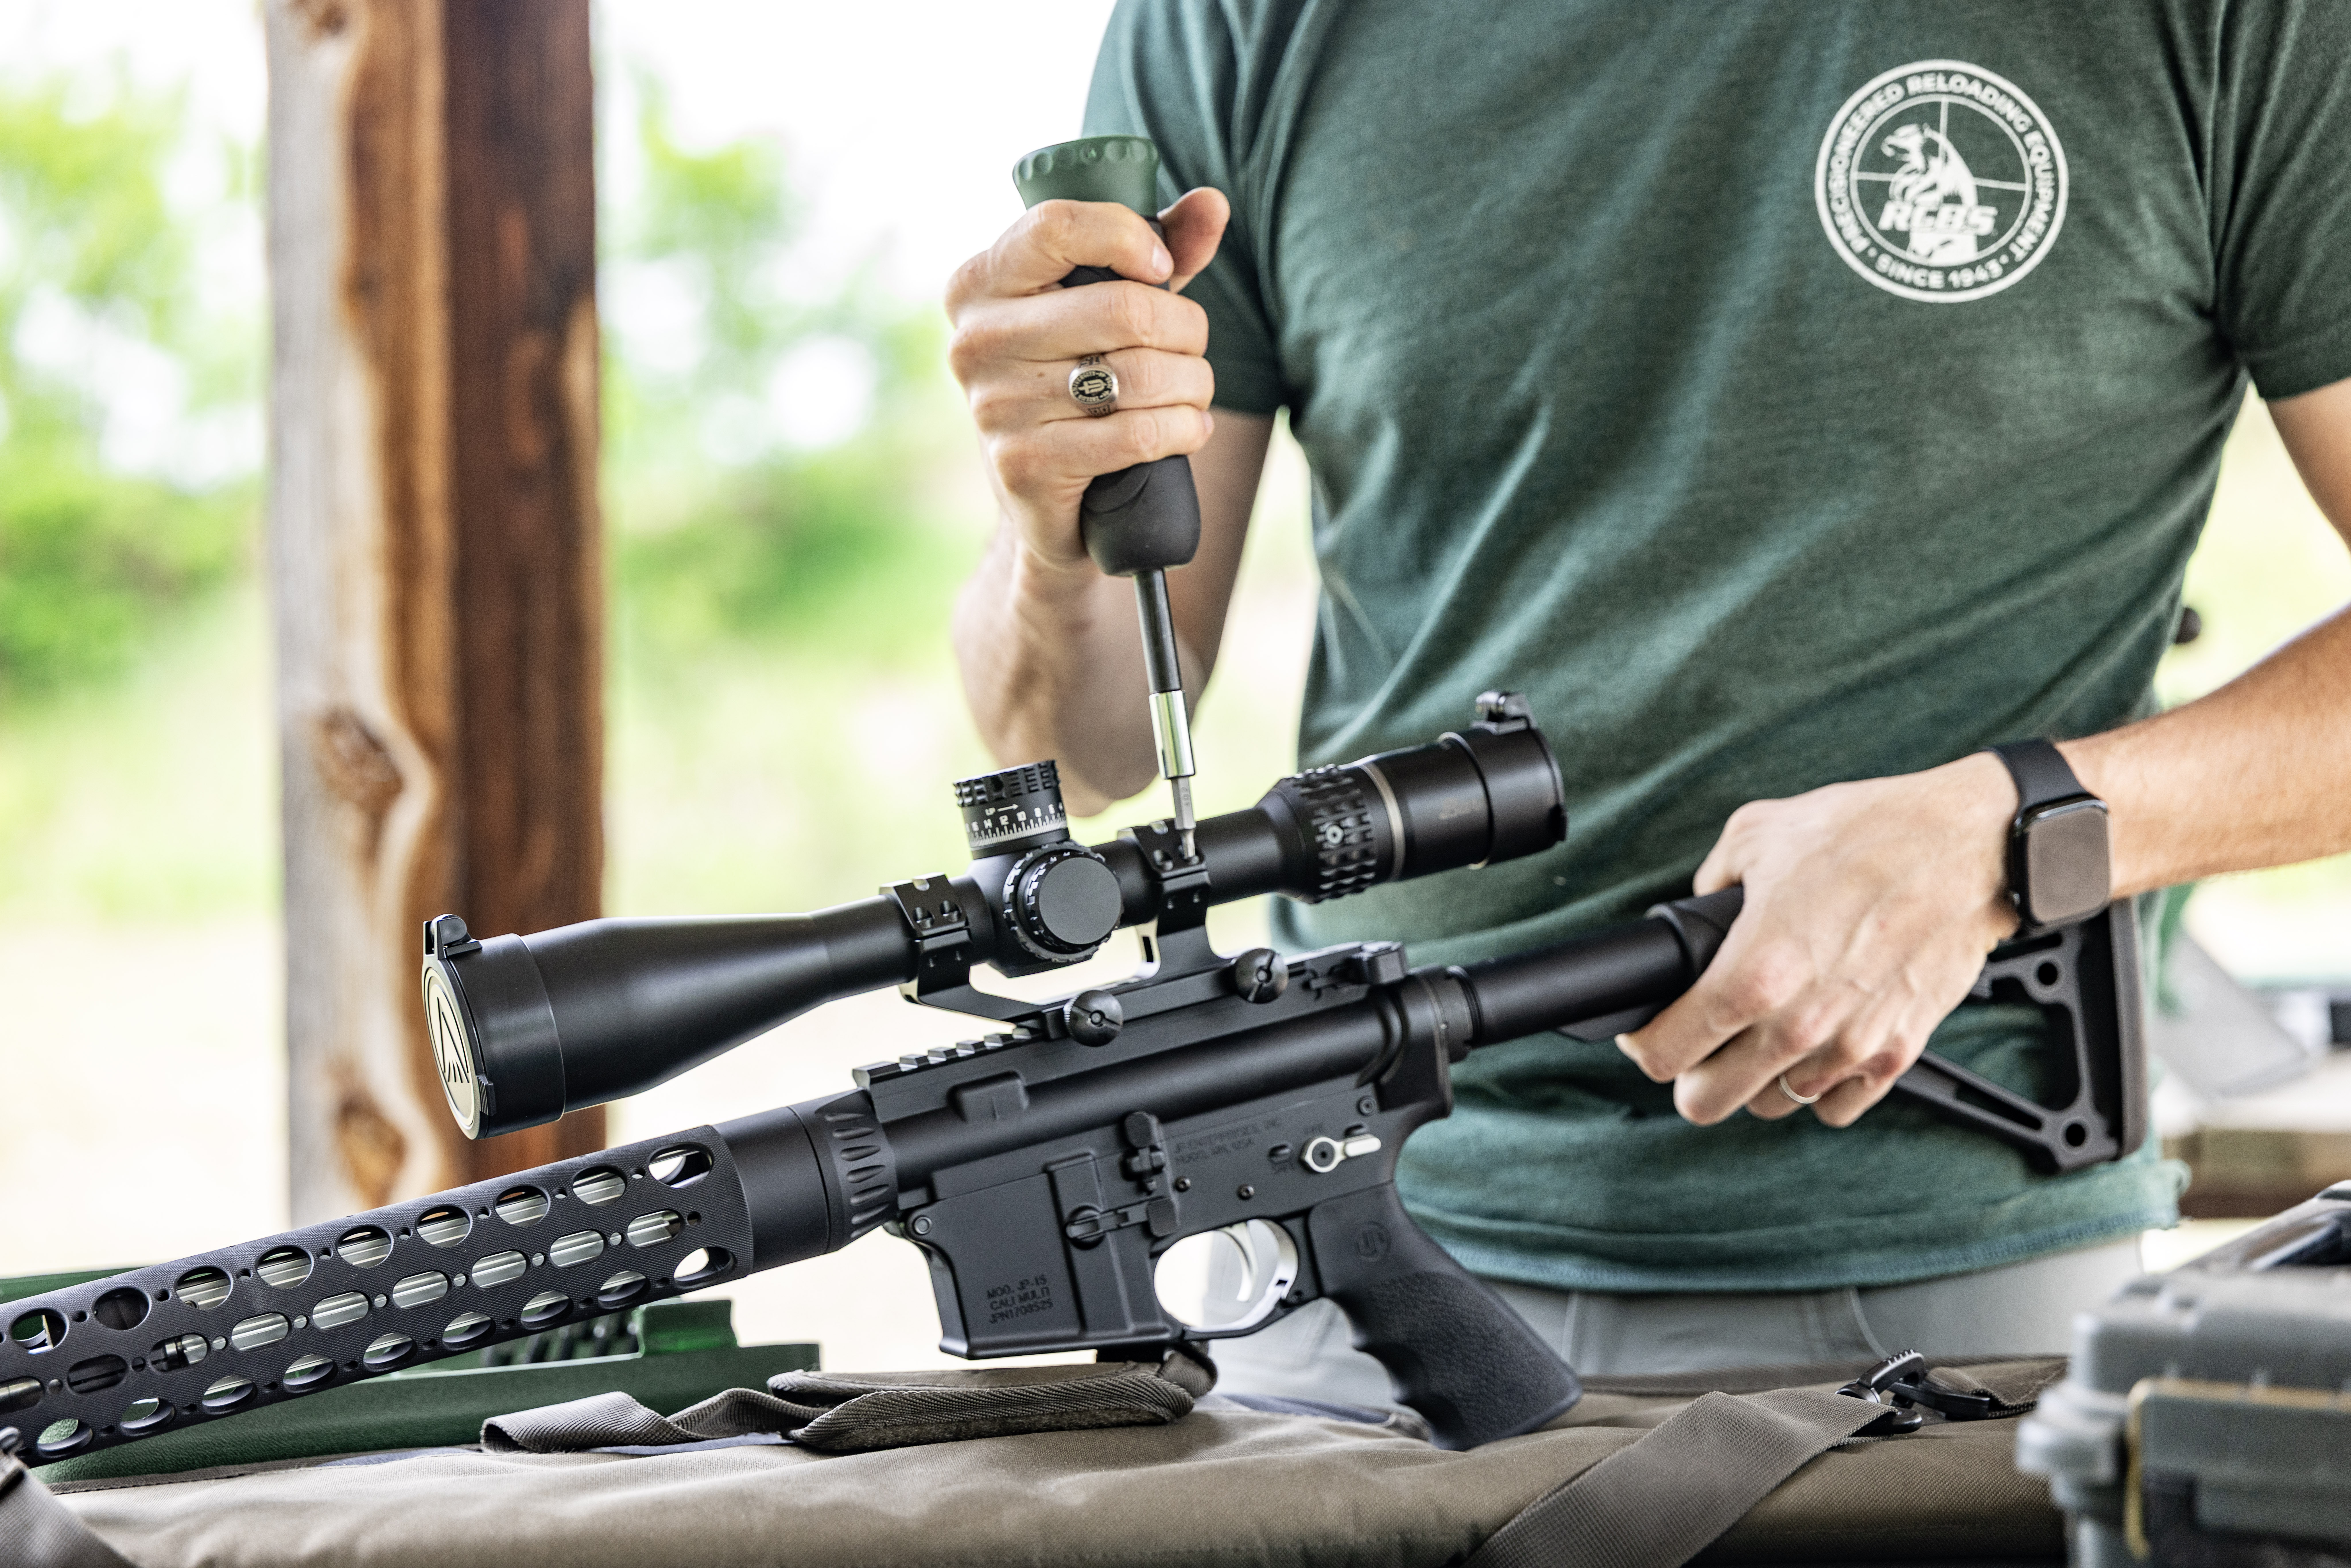
Every Long-Range Shot Assumes The Reticle Is Level — Make Sure It Is
What You'll Need
You don't need a full gunsmithing shop to level a scope correctly. A few focused tools and some patience are all it takes. Here's what to have on hand before you start.
Stable Rifle Rest Or Vise
The rifle needs to be completely stationary during the leveling process. A gun vise is ideal — sandbags or a solid shooting rest work too. If the rifle can wobble, your level readings are meaningless. Get it locked in before you touch anything else.
Two Bubble Levels
One level goes on the rifle to confirm the gun itself is level. A second goes on the scope to confirm alignment. You need both reading simultaneously to get an accurate result. Many scope mounting kits include small levels for exactly this purpose.
Plumb Line
A string with a weight — even a heavy bolt or nut — hung at 20–30 feet in front of the rifle gives you a gravity-verified vertical reference. Gravity doesn't lie. Aligning the reticle's vertical stadia to a plumb line is the most reliable method available to most shooters.
Torque Wrench
Tightening ring screws unevenly can rotate the scope off-level as you secure it. A torque wrench lets you tighten incrementally and consistently. It also prevents over-tightening, which can crush the scope tube — a common and expensive mistake.
Scope Leveling System
Purpose-built leveling systems — like the Weaver Modular Level System — attach magnetically to the receiver and scope, holding both references in place while you work. Frees your hands and removes the guesswork from positioning bubble levels during tightening.
Alignment Rods
Pointed rods that insert into the ring bores — if the tips meet cleanly, your rings are concentric. If they don't, the rings are misaligned. Most lapping kits include these. Useful for confirming ring alignment before committing to a final installation.
Method 1: The Plumb Line (Old School, Hard To Beat)
The plumb line method has been around as long as scopes have been mounted on rifles — and it's still considered one of the most reliable approaches available. The reason is simple: it references gravity directly rather than any part of the rifle or mount. As long as your rifle is level and you trust the hanging string, this method is nearly foolproof.
01
The Classic Approach
Plumb Line Method — Step By Step
Secure And Level The Rifle
Lock the rifle in your vise or rest so it cannot move. Place a bubble level on a flat reference surface — the scope base, the receiver, or the Picatinny rail. Adjust until the bubble reads dead center. This is your foundation. Everything else depends on the rifle being truly level before you touch the scope.
Hang Your Plumb Line
Hang a weighted string 20–30 feet in front of the rifle — down a hallway or outside works perfectly. Let it settle completely before proceeding. The further away the better, especially at higher magnification. If you're indoors, turn off any fans so the string isn't swaying. You want a clean, stationary vertical reference to align to.
Align The Vertical Crosshair To The String
Look through the scope and rotate it in the loosened rings until the vertical stadia lines up perfectly with the hanging string. Take your time — this step is the whole point. A tiny rotation matters. Make small adjustments, step back and verify from a solid shooting position, then make more corrections until the crosshair and string are visually parallel.
Tighten Rings Gradually In A Cross Pattern
Begin tightening ring screws in small increments — front left, rear right, front right, rear left — alternating rather than fully seating any one screw first. Check the reticle against the plumb line after every few turns. As rings tighten, the scope can rotate slightly. Adjust as needed and keep tightening incrementally until all screws reach spec torque.
Final Verification
Once all screws are fully torqued, look through the scope one more time. Vertical crosshair still aligned with the plumb line? You're done. If anything moved during final tightening, loosen the rings and repeat. Getting it right takes patience — but it's far better to spend time here than to chase a mystery horizontal drift at the range.
Method 2: Dual Bubble Levels (Fast And Modern)
If the plumb line is the classic approach, the dual bubble level method is its modern counterpart. It's faster, requires less space, and works especially well on rifles with flat-top receivers or Picatinny rails that give you a clean surface for placing a level. The principle is simple: if the rifle is level and the scope is level, they're aligned to each other.
02
The Modern Approach
Dual Bubble Level Method — Step By Step
Level The Rifle First
Secure the rifle and place a bubble level on the receiver, scope base, or Picatinny rail — whichever gives you the truest flat surface. Adjust until the rifle reads perfectly level and lock it in place. On bolt-action rifles without a flat top, the scope base itself or the barrel (if appropriately flat) can work as a reference surface.
Place A Second Level On The Scope
With the scope loosely seated in the rings, place your second bubble level on top of the elevation turret or another flat spot on the scope body. The turret cap surface works well on most scopes — it's typically machined flat. Some shooters remove the turret cap and place the level directly on the turret stem for added precision.
Rotate The Scope Until Both Bubbles Agree
With both levels visible, rotate the scope in the loosened rings until the bubble on top of the scope also reads level — at the same time the rifle level reads level. Both centered simultaneously means the scope and rifle are aligned. This is the target state. A dedicated leveling system like the Weaver Modular Level System simplifies this by holding references in place with magnets, freeing your hands.
Tighten Rings While Monitoring Both Levels
Begin tightening in the same alternating cross-pattern as the plumb line method — small increments, check both bubbles frequently. If the scope bubble drifts off center during tightening, stop and re-rotate the scope. The goal is to arrive at full torque with both bubbles still reading level simultaneously. This step requires the most patience — don't rush it.
Verify And Sanity Check
Remove the levels and take a final look. If you have a plumb line handy, running a quick check against it confirms the bubble level result. Dial your elevation a few clicks and watch where your point of aim tracks — it should move cleanly vertical, with no horizontal drift. If it drifts, the scope isn't level. Fix it now rather than at the range.
"Take An Extra 20 Minutes Now. Save Yourself Hours Of Frustration At The Range."
Common Mistakes That Ruin A Good Level Job
Even with the right tools and the right method, a few common errors can undermine your work. Know these before you start and you'll avoid the most frequent problems.
Eyeballing It
Shouldering the rifle, twisting the scope until it "looks straight," and tightening it down is how most misaligned scopes get installed. Our eyes are easily deceived — what feels level to us can be several degrees off in reality. Always use a tool or verified reference. Even experienced shooters can't reliably level a scope by eye.
Not Leveling The Rifle First
If the rifle isn't level when you align the scope, the scope gets aligned to a tilted rifle — which means it's still canted relative to the real world. The rifle must be level before you touch the scope position. Skip this step and everything that follows is built on a crooked foundation.
Uneven Ring Tightening
Fully tightening one screw before the others is one of the most reliable ways to rotate the scope off-level as you mount it. Always tighten in a gradual cross pattern — small increments, alternating sides, checking alignment after every few turns. Think of it like tightening lug nuts on a wheel: even pressure in stages, not full torque on one at a time.
Over Or Under-Torquing The Rings
Too loose and the scope slips or rotates under recoil, losing your alignment entirely. Too tight and you risk crushing the scope tube or warping the rings — both of which can destroy a perfectly leveled scope. Use a torque wrench and follow the manufacturer's specifications. Consistent, correct torque preserves the level you worked to achieve.
Not Verifying At The Range
After leveling and mounting, confirm your work at the range. Dial a few MOA of elevation and observe whether your point of impact tracks cleanly vertical or drifts horizontally. A level scope tracks true. If your impacts drift sideways as you dial up, the scope isn't level. Catch this at the range rather than in the field.
The Right Tools For The Job
Two Weaver products make this process significantly easier and more repeatable — one handles the leveling, the other ensures proper torque throughout installation.
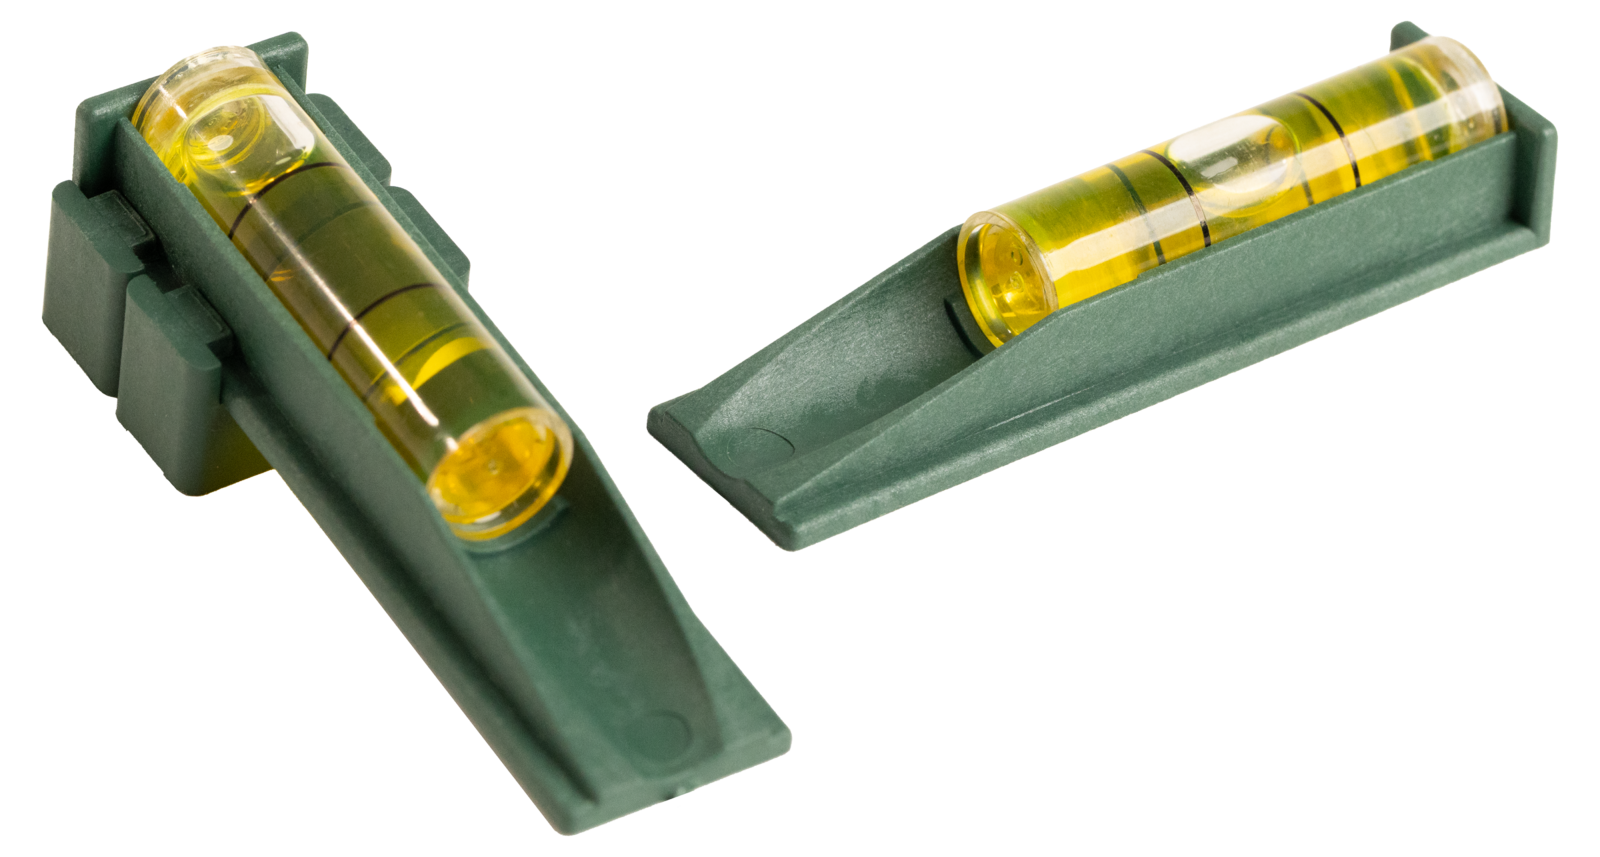
Magnetic, Hands-Free Leveling
Modular Level System
Weaver's Modular Level System attaches magnetically to the receiver and scope, holding level references in place while you work — no juggling tools, no losing your alignment every time you reach for a screwdriver. It establishes a true plumb reference, confirms the scope's crosshairs are aligned to the receiver, and stays put through the entire tightening process.
Shop Level System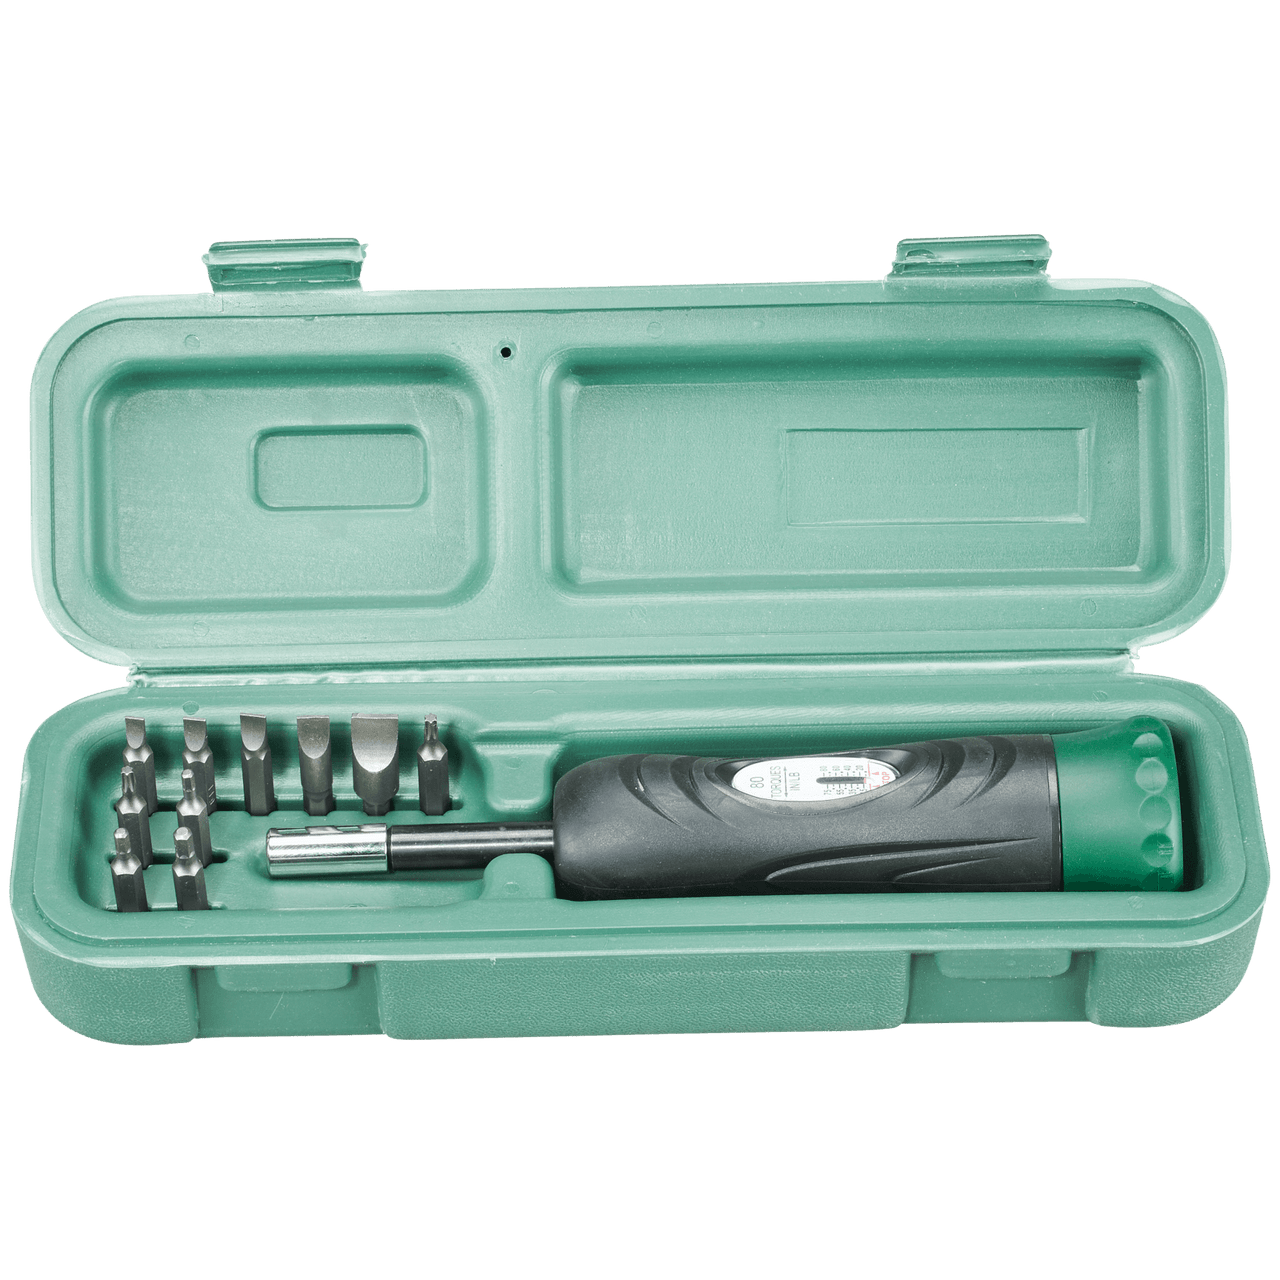
Precision Torque Control
Gunsmithing Torque Wrench Kit
Tightening ring screws to the correct specification is the difference between a scope that holds your level and one that rotates off over time or gets its tube crushed. Weaver's Gunsmithing Torque Wrench Kit takes the guesswork out entirely — dial in the correct inch-pounds for your specific rings and base, and tighten with confidence knowing you're hitting spec every time.
Shop Torque WrenchBefore You Head To The Range: Final Checklist
Rifle Was Secured And Confirmed Level Before Mounting
The foundation of everything. If the rifle wasn't level when you aligned the scope, start over.
Reticle Aligned To Plumb Line Or Dual Bubble Levels
A tool was used — not eyeballing. Plumb line or bubble levels, both valid. Eye only, not valid.
Rings Tightened In Gradual Cross Pattern
Small increments, alternating sides, checking level alignment after every few turns until fully torqued.
All Screws Torqued To Manufacturer Spec
Torque wrench used or manufacturer guidelines followed carefully. Not over-tightened, not under-tightened.
Final Verification Completed Before Range Session
One last look through the scope against the plumb line or a known vertical reference. Level confirmed after final torque.
Elevation Tracking Verified At The Range
Dial up several MOA and confirm impacts track cleanly vertical with no horizontal drift. If they drift, the scope isn't level — fix it before shooting seriously.
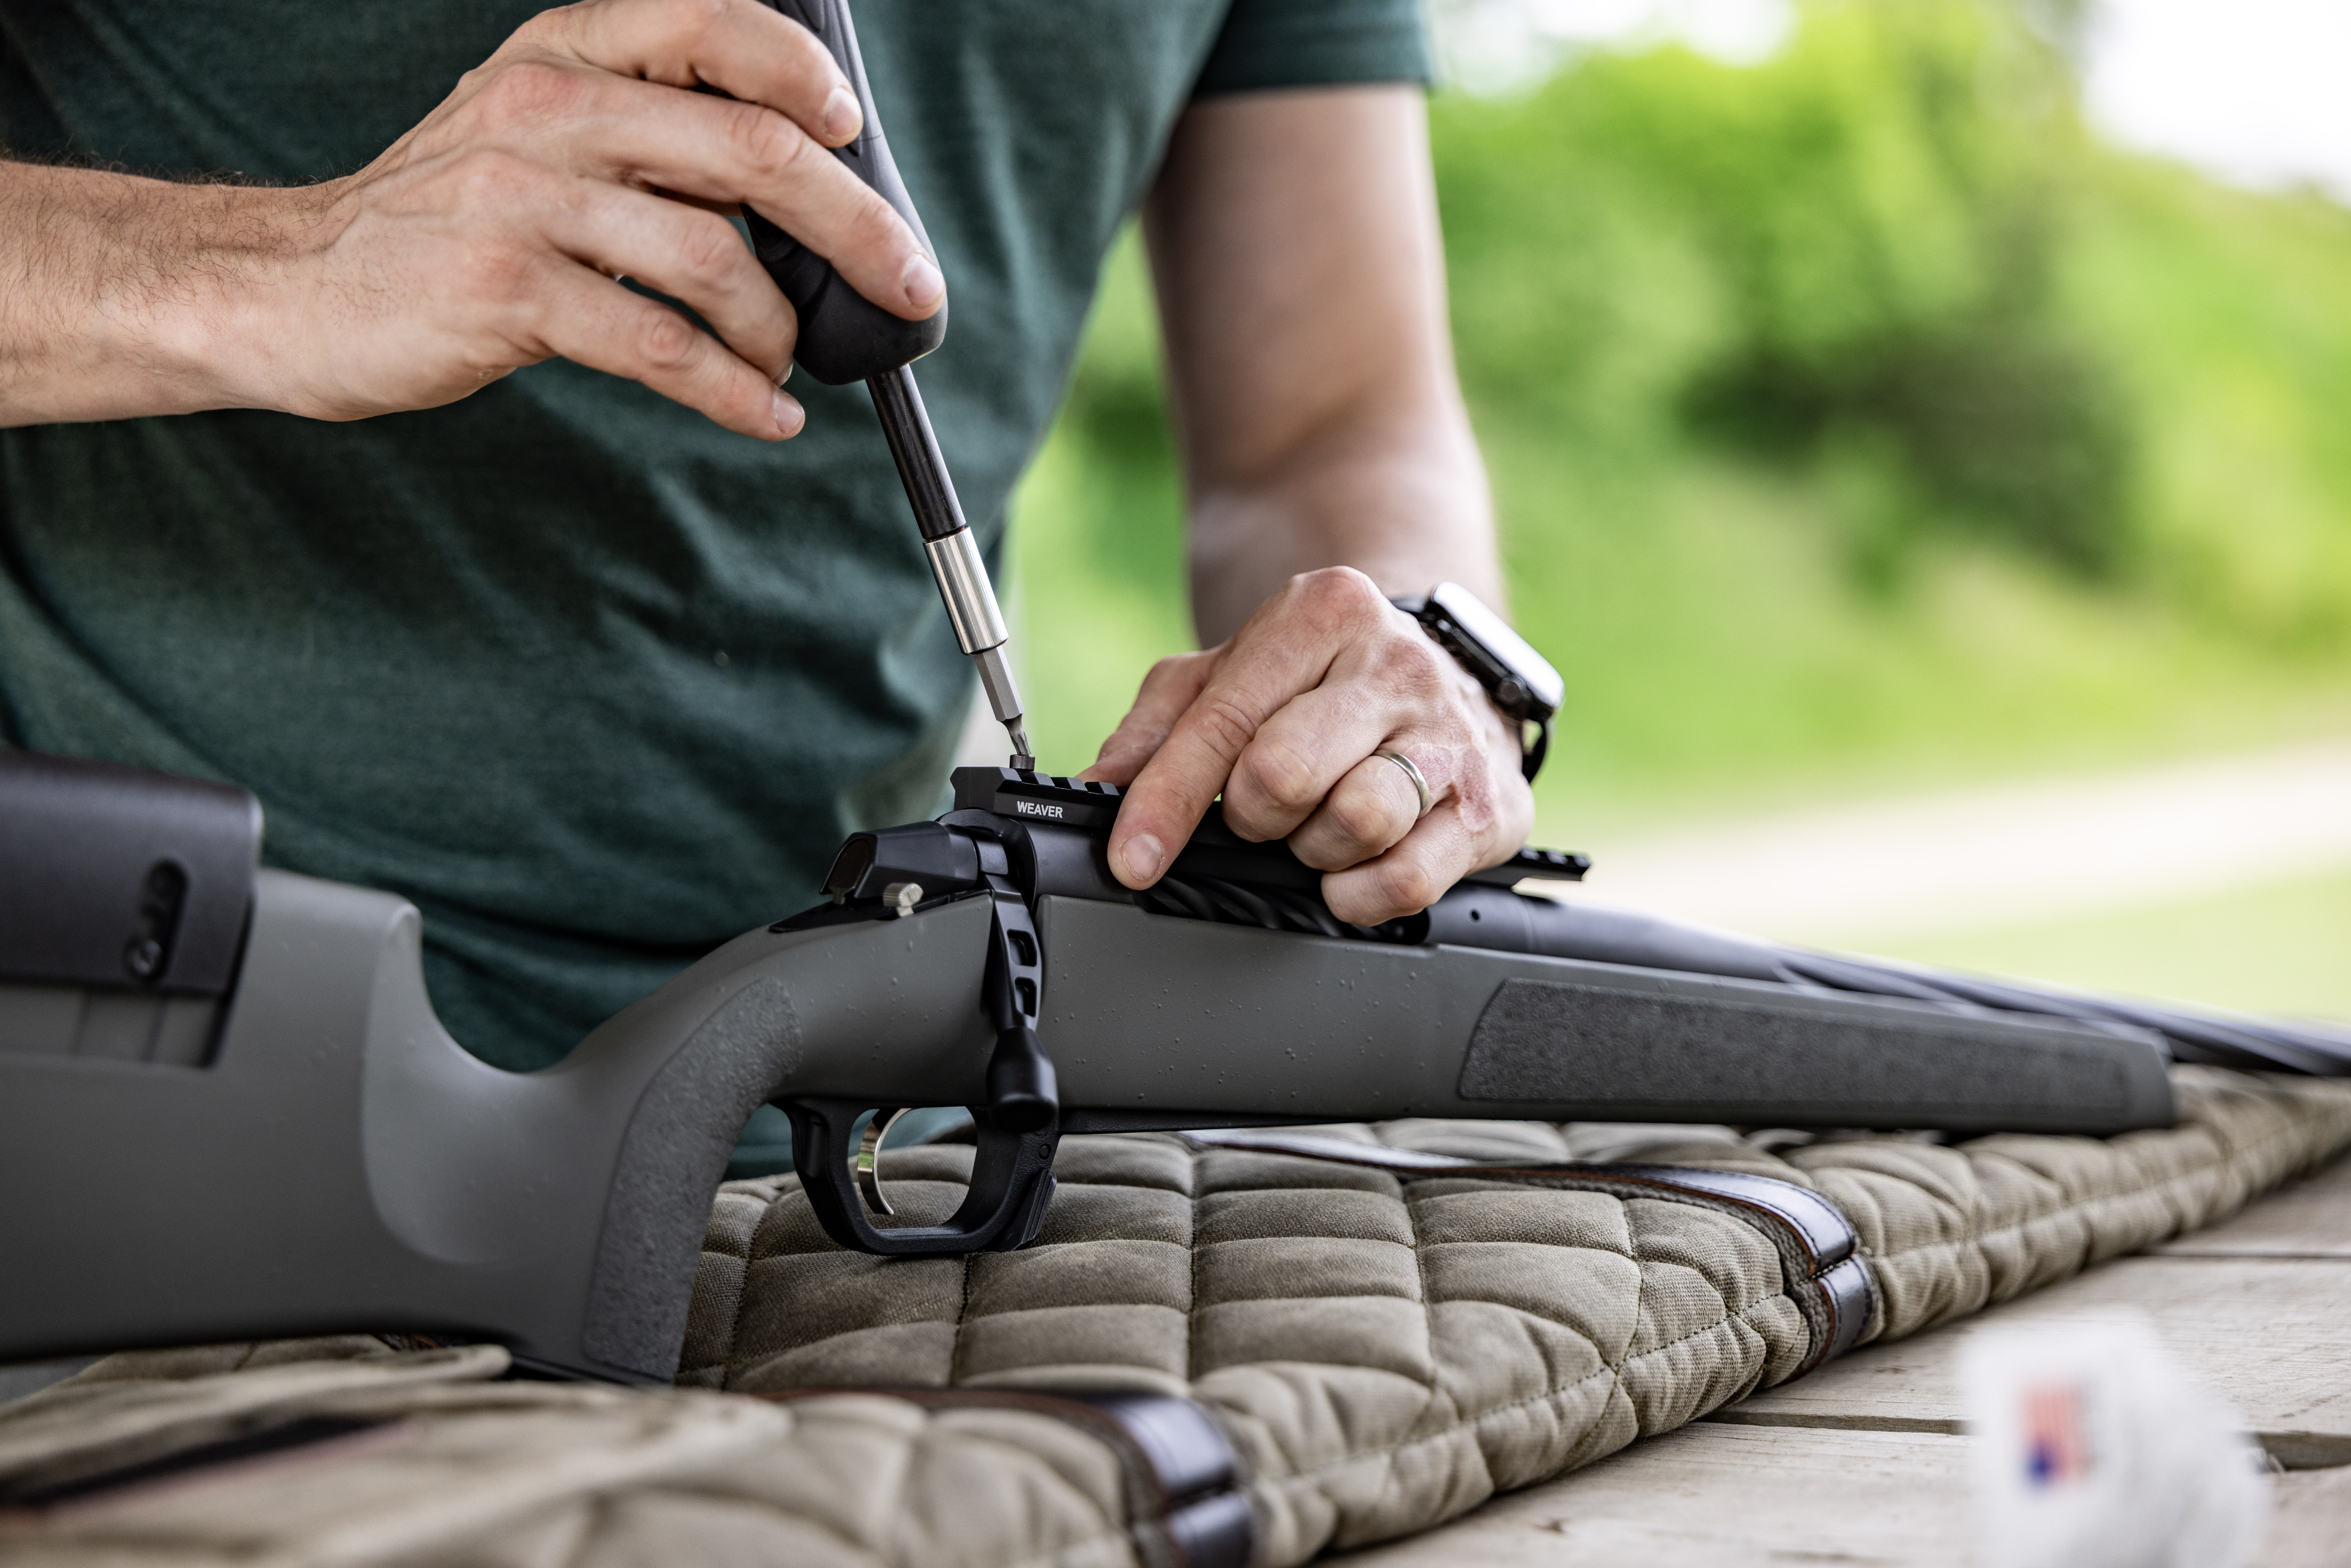
A Level Reticle Means Every Adjustment Tracks True — Confidence On Every Shot
"A Level Scope Is The Foundation. Every Accurate Shot Starts Here."
Leveling a scope takes maybe 20 minutes done right. The payoff is adjustments that track true, zeros that hold across distances, and the confidence to blame your fundamentals instead of your equipment when something goes wrong.
Use a plumb line. Use bubble levels. Use the right tools. Then go shoot — knowing your reticle is level with your world.